

Dumbwaiter Installation Process
Installing a dumbwaiter can be a great way to improve your property’s functionality, especially in multi-story buildings like hotels, restaurants, or residential homes. Understanding what to expect during the installation process helps ensure everything goes smoothly. In this guide, we’ll walk you through the main steps of dumbwaiter installation, from the initial consultation to the final checks.
Initial Consultation and Site Assessment
The installation process begins with a consultation and site assessment. A professional installer will visit your location to assess the space where the dumbwaiter will be placed. This is a crucial step to ensure the lift will fit the available space and meet your specific needs. The installer will measure the area, check the building’s layout, and discuss the best design options based on your requirements, including size, materials, and any custom features that suit the look and function of the space.
Customisation and Design Specification
After the site assessment, the next step involves customising your dumbwaiter to fit your specific requirements. At this stage, you’ll discuss important aspects such as:
- Size and capacity: depending on what you’ll be using the dumbwaiter for, such as transporting food, laundry, or goods, the size and weight capacity will be determined
- Materials and finishes: choose materials that best match your building’s aesthetics, such as stainless steel for commercial spaces or custom wood finishes for a more residential feel
- Safety features: the installer will ensure the dumbwaiter is equipped with safety features like emergency stop buttons, load sensors, and secure doors to comply with safety standards
Installation of the Dumbwaiter
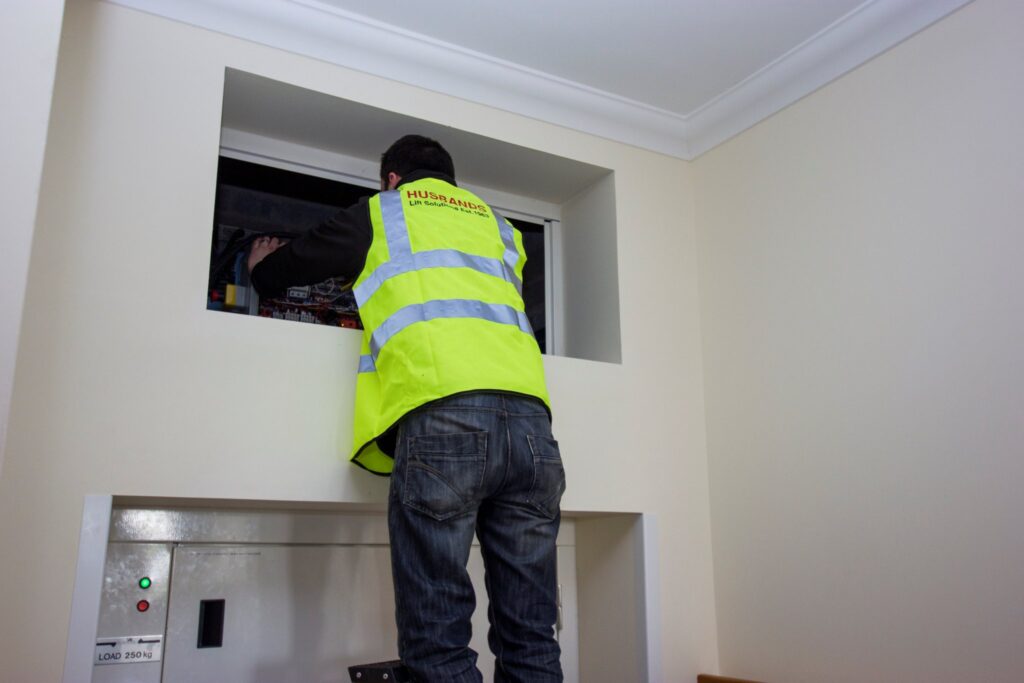
Once the design is finalised, the installation process begins. This typically takes a few days to a week, depending on the complexity of the system and the structure of the building.
The team starts by building the shaft, the vertical cavity the dumbwaiter travels up and down. Shaft dimensions depend on the size and load capacity of your dumbwaiter, so accurate measurements at the assessment stage matter. Shafts are typically constructed from timber, plasterboard, or metal, and need to be sturdy, secure, and free from obstructions that could interfere with movement.
Once the shaft is ready, the structure is secured: guide rails and supporting brackets are installed and precisely aligned to ensure smooth, safe movement, and the doors and cabin are fitted along with internal fixtures such as shelving.
With the physical structure complete, the electrical phase begins. This involves installing the motor, control panels, and wiring the dumbwaiter to the building’s power supply. This work is carried out by a qualified electrician to ensure the wiring is safe and fully compliant with regulations.
Testing and Safety Checks
After installation, it’s time for rigorous testing and safety checks. The installer will run the system through its paces to confirm it’s functioning as expected, checking the lift’s movement, speed, and capacity, and making sure all safety features work correctly. This includes testing emergency stop buttons, door sensors, and weight limits, as well as running load tests at maximum rated capacity. A final inspection confirms that the installation meets building codes and regulations before the lift is signed off as ready for use.
Training and Handover
Once installation and testing are complete, the installer will provide a thorough handover. This includes training on how to operate the dumbwaiter safely and efficiently: loading and unloading items, operating the controls, and what to do in the event of an emergency. The training also covers basic day-to-day care to keep the system running smoothly.
Ongoing Support and Maintenance
After installation, regular maintenance is essential to keep your dumbwaiter in optimal working condition. Many installers offer a service contract that includes scheduled maintenance, ensuring your dumbwaiter is inspected and maintained regularly to prevent breakdowns, and workplace lifts have a legal requirement for LOLER thorough examinations. See our guide on LOLER inspections and compliance for what that involves. If any issues arise, you’ll have access to repair services from professionals who know your system inside and out.
Conclusion
Installing a dumbwaiter adds convenience, improves efficiency, and saves space in multi-story buildings. The process is straightforward when you work with a professional team who guide you through every stage, from site assessment and design to installation, testing, and handover. For a sense of what the whole project is likely to cost, see our guide on what affects dumbwaiter lift cost.
Ready to install a dumbwaiter in your property? Get in touch with us today to start your installation journey with expert guidance every step of the way.
Frequently Asked Questions
How long does dumbwaiter installation take?
Typically a few days to a week, depending on the complexity of the system and the structure of the building.
What’s involved in preparing the space for installation?
The main work is building the shaft the dumbwaiter travels up and down, which involves construction work to create the opening and fit a secure frame. This is why an accurate site assessment matters before anything is built.
Do I need an electrician for dumbwaiter installation?
Yes. Connecting the dumbwaiter to your building’s power supply needs to be carried out by a qualified electrician to ensure the wiring is safe and compliant with regulations.
What happens during the final testing and inspection?
The installer checks the lift’s movement, speed, and capacity, tests all safety features including emergency stops and door sensors, runs load tests at maximum rated capacity, and confirms the installation meets building codes before signing it off as ready for use.
Will I be trained on how to use the dumbwaiter after installation?
Yes. A proper handover includes training on safe day-to-day operation, loading and unloading, and what to do in an emergency, along with basic maintenance guidance.